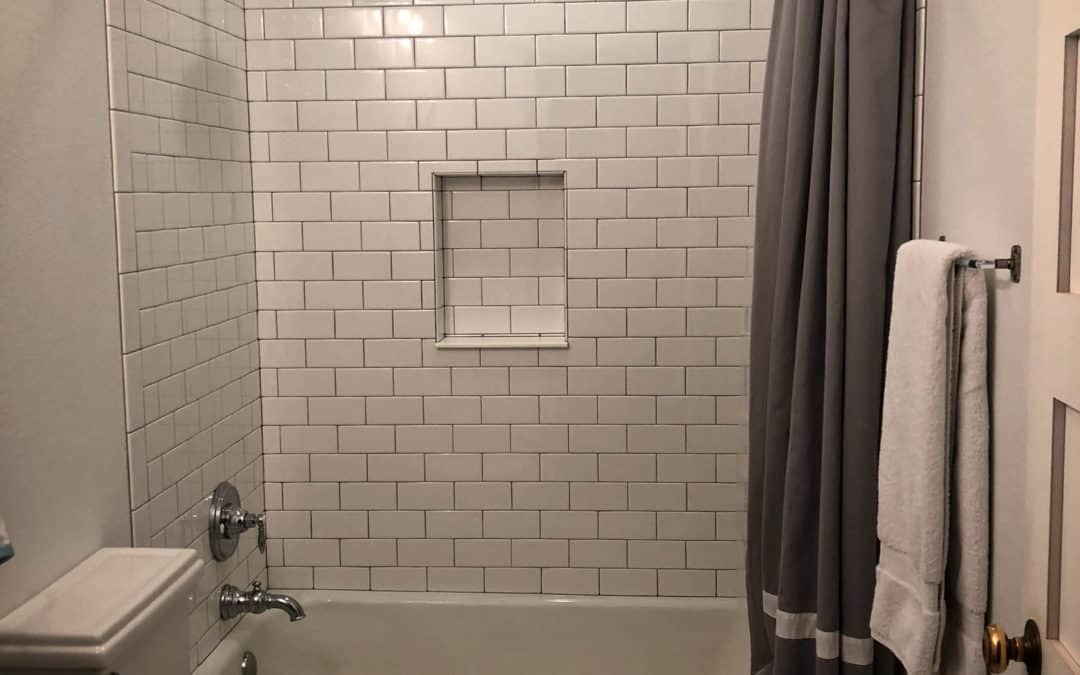
Tiling Shower Walls, or Floors First?
Tiling a shower can be a daunting task, but if done correctly, it can transform your bathroom into a beautiful and functional space. One of the most important aspects of tiling a shower is the order in which you should lay the tiles. In this blog post, we will discuss the proper order for tiling a shower and specifically mention whether the walls or floor should be done first.
Step 1: Prepare the Surface
Before you begin tiling, it is important to prepare the surface. This includes removing any old tiles, repairing any damaged areas, and ensuring that the surface is clean and level. If you are tiling over an existing surface, make sure it is stable and free of any loose or damaged areas. It is also important to waterproof the shower area to prevent water from seeping through the tiles.
Step 2: Plan the Layout
Once the surface is prepared, you can start planning the layout of the tiles. It is important to measure the area accurately and determine the size and placement of the tiles. You should also consider the type of tiles you want to use and whether you want to create any patterns or designs. Need some help finding the right tiles, or with creating a beautiful pattern? Give us a call.
Step 3: Start with the Walls
When tiling a shower, it is best to start with the walls. This allows you to tile up to the edge of the floor tiles and avoid any awkward cuts or gaps. Begin by applying adhesive to the first section of the wall and then place the first tile at the bottom corner. Use tile spacers to ensure that the tiles are evenly spaced and level. Continue applying adhesive and placing tiles until you reach the top of the wall. Make sure to cut any tiles as needed to fit around fixtures or other obstacles.
Step 4: Move on to the Floor
Once the walls are complete, you can move on to tiling the floor. Starting with the walls allows you to use the edge of the tiles as a guide for laying the floor tiles. Begin by applying adhesive to a small section of the floor and then place the first tile at the center of the shower floor. Use tile spacers to ensure that the tiles are evenly spaced and level. Continue applying adhesive and placing tiles until the entire shower floor is covered. Make sure to cut any tiles as needed to fit around the drain or other obstacles.
Step 5: Finish the Walls
After the floor is complete, you can finish tiling the walls. Start by applying adhesive to the next section of the wall and then place the first tile at the bottom corner, aligning it with the edge of the floor tiles. Use tile spacers to ensure that the tiles are evenly spaced and level. Continue applying adhesive and placing tiles until the entire shower is covered. Make sure to cut any tiles as needed to fit around fixtures or other obstacles.
Step 6: Grout the Tiles
Once all the tiles are in place, you can begin grouting the tiles. Use a rubber float to apply grout to the spaces between the tiles, making sure to fill all the gaps completely. Wipe away any excess grout with a damp sponge, being careful not to remove too much grout from the spaces between the tiles. Allow the grout to dry completely before using the shower.
In conclusion, the proper order for tiling a shower is to start with the walls, followed by the floor, and then finish the walls. Starting with the walls allows you to use the edge of the tiles as a guide for laying the floor tiles and avoid any awkward cuts or gaps. By following these steps and taking your time, you can create a beautiful and functional shower that will last for years to come.
Unsure if tiling your own shower is right for you? Luckily, Northern Colorado Carpets offers to install all types of flooring, even when they’re on walls. We would be more than happy to help you with your next project. Give us a call today.


Recent Comments